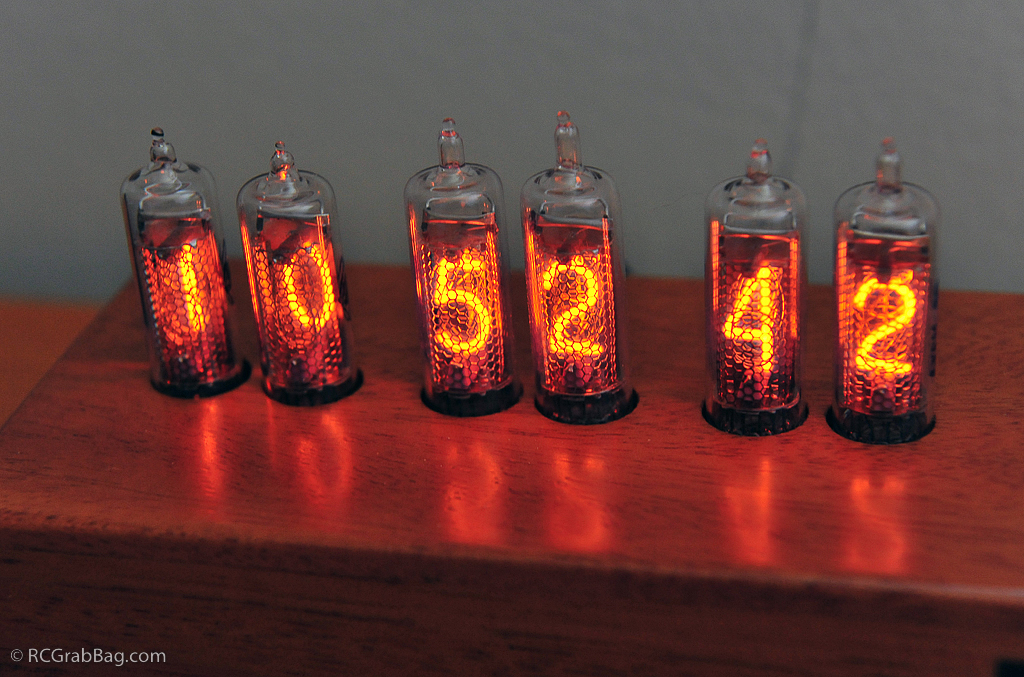
Nixie Clock
Few things around the house fall under the category of “conversation piece”, but the Nixie Clock definitely fits the bill.
Think digital readouts before LEDs and fluorescent displays. Nixie tubes are vacuum tubes filled with neon (a little mercury and argon, too) gas and individual filaments shaped into numbers. When an electrical charge was applied to a filament, the neon gas around the filament glows, making a number from 0 to 9 clearly visible. The name Nixie was derived from an abbreviation of Numeric Indicator eXperimental No. 1, or NIX 1. Nixie tubes were manufactured into the 1980s, but have since been surpassed by LEDs as the preferred form of digital readout. Nixie tubes languished in storage since then, until a few enterprising individuals saw a new use for the vintage technology.
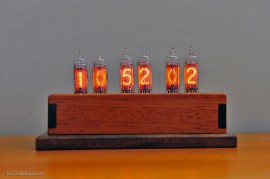
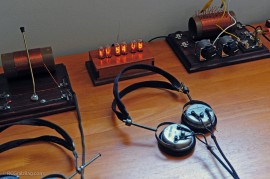
This Nixie clock was purchased already built. It uses IN-16 Nixie tubes and is housed in a mahogany wood base. The end result is a fashionable piece of retro-looking technology that’s sure to catch the eye of many a house guest. The soft amber glow is mesmerizing, and if that wasn’t enough, the clock has a built in cycling function to rapidly cycle each number in each tube at the top of each minute. This rapid display of all numbers is helpful in preserving the life of the tubes and quite entertaining to watch. The clock looks right at home sitting next to my home-built crystal radio sets.
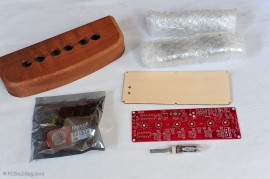
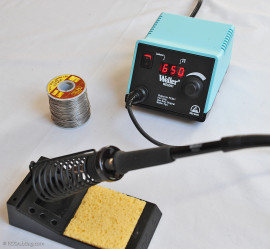
You can build your own Nixie clock too. I got this kit off of ebay and it includes a machined wood base for housing the components once assembled. The kit includes all the necessary electrical components, breadboard and IN-8-2 Nixie tubes. The kit comes with complete instructions and a CD full of assembly photos. Most available clock kits use Russian built Nixie tubes, typically manufactured in the 1970-80s time period. To assemble such a kit, you’ll need a good soldering iron with a fine point since some of the parts and solder points are very small. The photo on the right is my Weller WESD51 Digital Soldering Station. The iron itself is a thin pencil unit for easy handling and is attached to the power supply base with a digital display that allows precise temperature control. Once the temperature is dialed in, the display switches over to display the actual temperature of the tip. The tip heats up very rapidly to operating temperature.
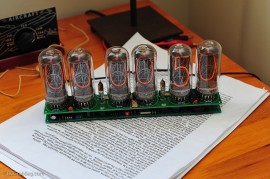
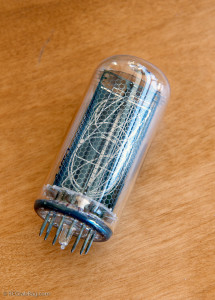
This is another clock I purchased off of ebay. This clock uses large IN-18 Nixie tubes that are fairly expensive. This clock came with the assembled circuitry, but did not include the tubes or a case. The tubes were purchased separately and I hope to be making my own custom case for it. The closeup of the Nixie tube illustrates how the numbers are formed with the individual filaments.
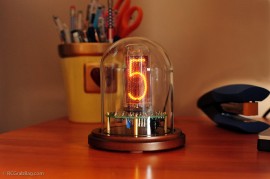
OK, so I finally got around to building my first Nixie clock from a kit. This is a single tube Nixie clock (in case that wasn’t obvious). Check out my full writeup.
This is a short video of the Nixie clock in operation and going through it’s cycling maneuver:
[wordbay]nixie clock[/wordbay]
You may also like
3 comments
Leave a Reply
Archives
- April 2025
- March 2025
- February 2025
- January 2025
- December 2024
- November 2024
- October 2024
- September 2024
- August 2024
- July 2024
- June 2024
- May 2024
- April 2024
- March 2024
- February 2024
- January 2024
- November 2023
- October 2023
- September 2023
- August 2023
- July 2023
- April 2023
- March 2023
- September 2022
- September 2013
- August 2013
- March 2013
- September 2012
- June 2012
- December 2011
- August 2011
- July 2011
- May 2011
- March 2011
- January 2011
- December 2010
- November 2010
- September 2010
- August 2010
- July 2010
- June 2010
- April 2010
- March 2010
- February 2010
- January 2010
- December 2009
- November 2009
- October 2009
- September 2009
- August 2009
- July 2009
- June 2009
- May 2009
- April 2009
- March 2009
- February 2009
- January 2009
- December 2008
- November 2008
- October 2008
- September 2008
- August 2008
- July 2008
- June 2008
- May 2008
- April 2008
- March 2008
- February 2008
- January 2008
- December 2007
- November 2007
- October 2007
- September 2007
Looks like a cool project. How long do the tubes last?
Tubes can last 1000,s of hours, depends upon year made most. Newer tubes can be much better than old tubes.
Personally, I haven’t had the best luck with my first Nixie clock (the one I purchased already assembled) pictured above. All the tubes went bad. They were replaced by the builder, but a short while after I got the clock back, the new tubes started going bad. I replaced those myself, not an easy task because the IN16 tubes are soldered in, and there are about 8 solder points per tube. The builder must have had a bad lot of tubes. So far the tubes I replaced are going strong.