Upgrading Your Mac Pro (Memory, HDD, Video)
It’s well known that Mac charges and arm and a leg for computer upgrades. But you can save a lot of money by upgrading your Mac’s memory and hard drive using components purchased other vendors.
I recently purchased a Mac Pro with the best processors available, but the minimum memory configuration. Mac charges a small fortune for additional memory, and hard drive upgrades aren’t much more of a deal either. The specs on my Mac Pro at time of purchase were dual quad core 3.2ghz Penryn processors, with 2gb of RAM and a 1 TB hard drive. I wanted to upgrade to at least 8gb of RAM, and 2 – 1TB hard drives. I do a lot of heavy duty video editing (see my article on Blu-ray on the Mac) and need lots of storage and memory. I also purchased the Mac with base ATI Radeon 2600 XT video card. The better Nvidia 8800 GT was not available at the time of purchase. Unfortunately, when it comes to video cards, there aren’t many third party options, so Apple’s got me there.
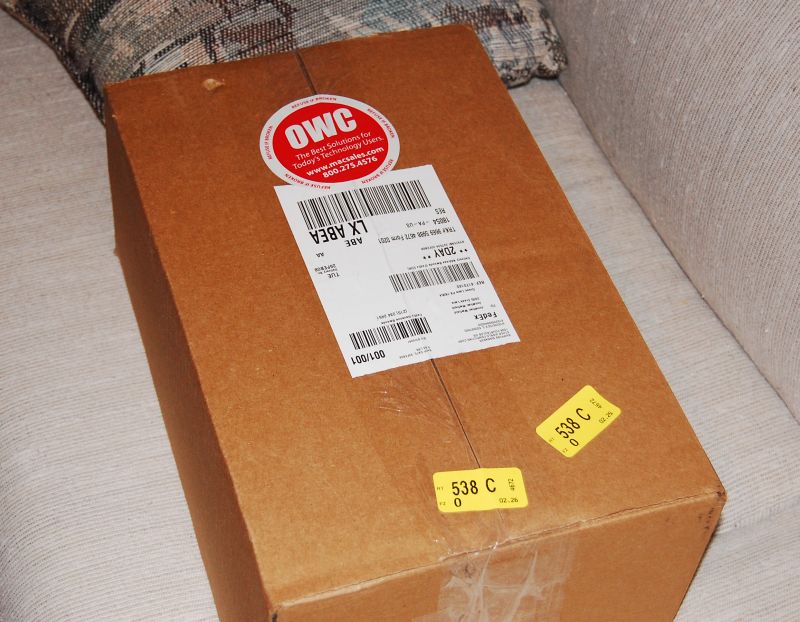
I purchased my RAM and Hard Drive from Other World Computing, otherwise known as OWC. At the time of this writing, 8gb of RAM in 2gb modules was $429.99. Apple had a 4gb package consisting of 2gb modules for a whopping $999.00! So let me see, that’s less than half the memory at double the price! What kind of drugs is Steve J. smoking over there at Cupertino?

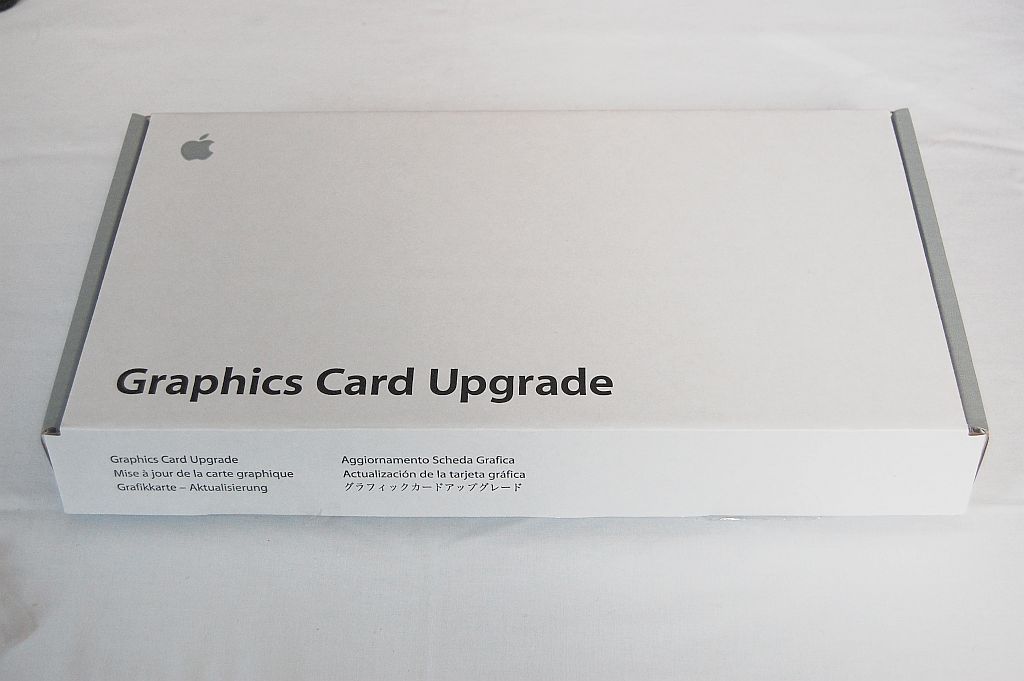
As for the hard drive, OWC has a 1TB SATA hard drive for $249. Apple has a 1TB hard drive listed at $549. I would have gone with a smaller, cheaper hard drive for my primary drive whan I purchased my Mac Pro, but I really wanted a bigger drive with OS X installed by the factory, so I went with a 1TB drive from Apple, but I got the second 1TB drive from OWC. The Nvidia 8800 GT also came from Apple.
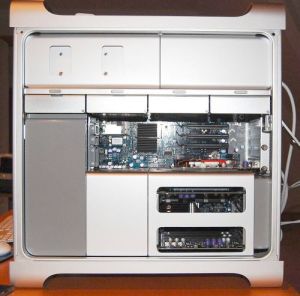
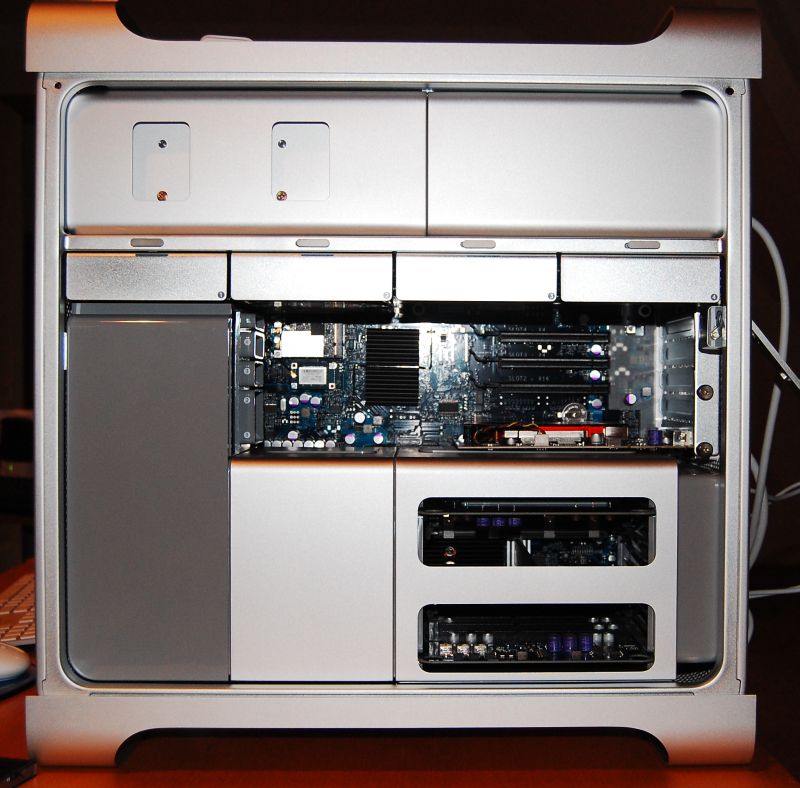
Upgrading the Mac Pro is a snap, litterally. You snap off the cover, snap open an empty drive bay, snap out the memory boards, load ’em up and snap ’em back in. The only tool I needed during the whole operation was a small philips head screwdriver to mount the drive in the snap in mount (it’s actually more of a slide-in mount, but saying snap a dozen times sounds better).
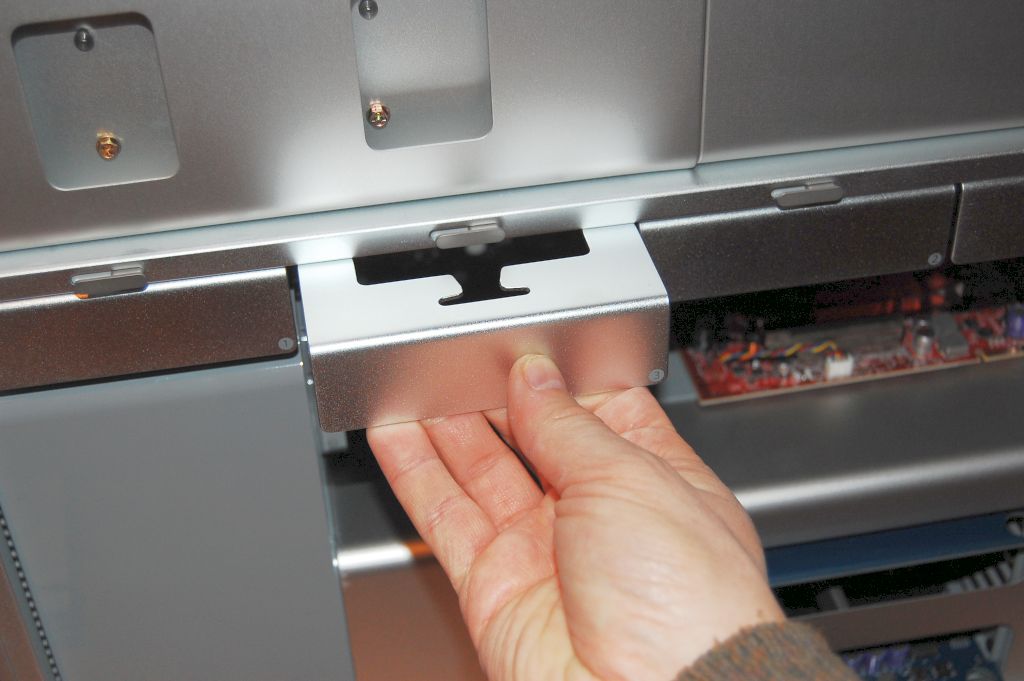
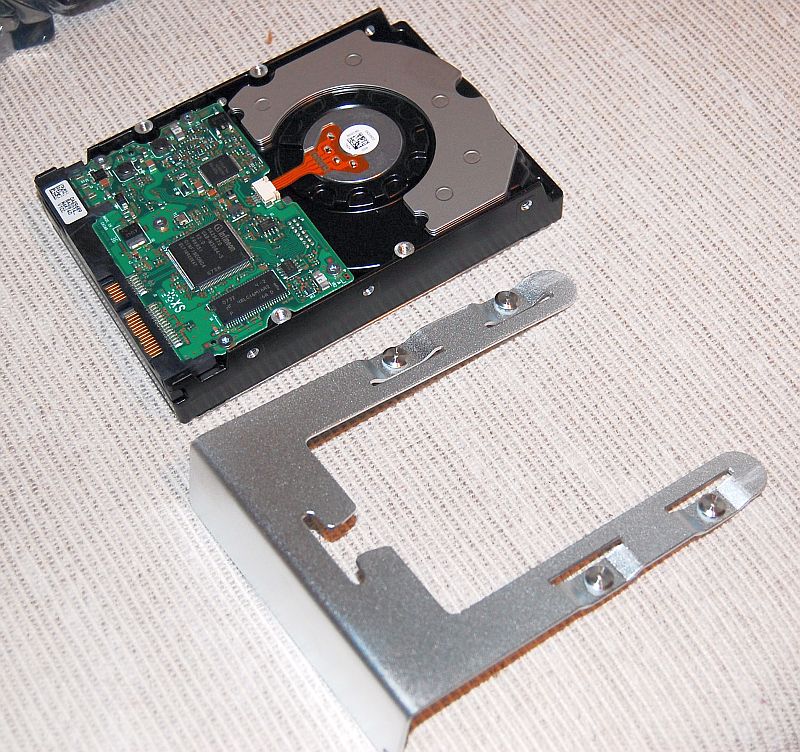
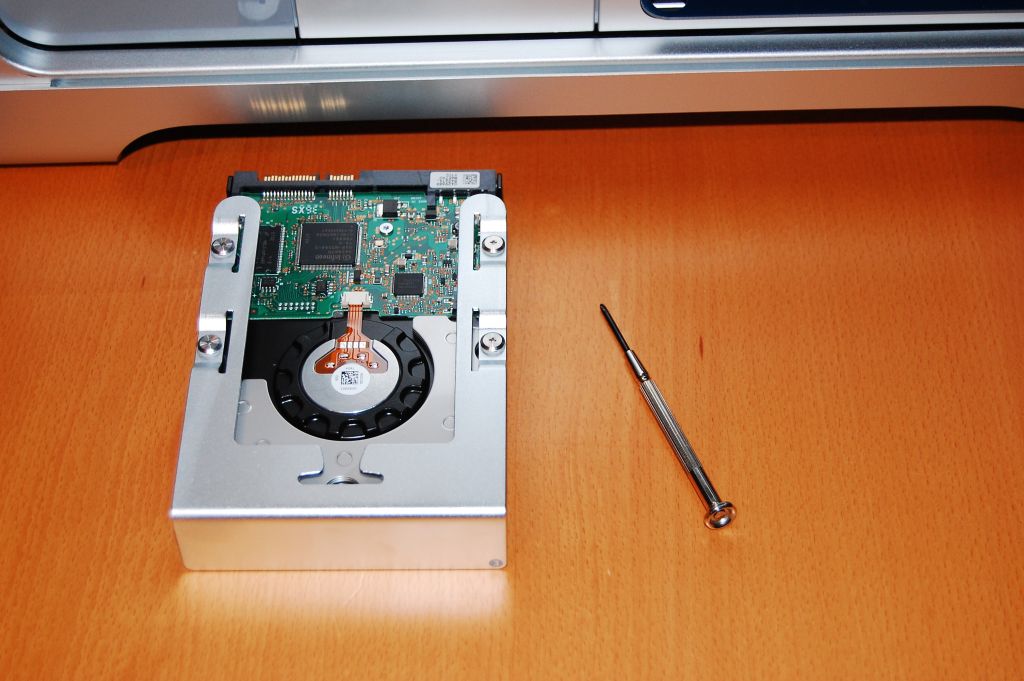
For the hard drive, remove the Mac Pro’s cover and pull out an empty drive bay. Mount the drive to the bay and slide it back into the computer. Use Mac’s Disk Utility to format. Since this is a second drive and not my boot drive, I did not select the “journaled” option for formatting.
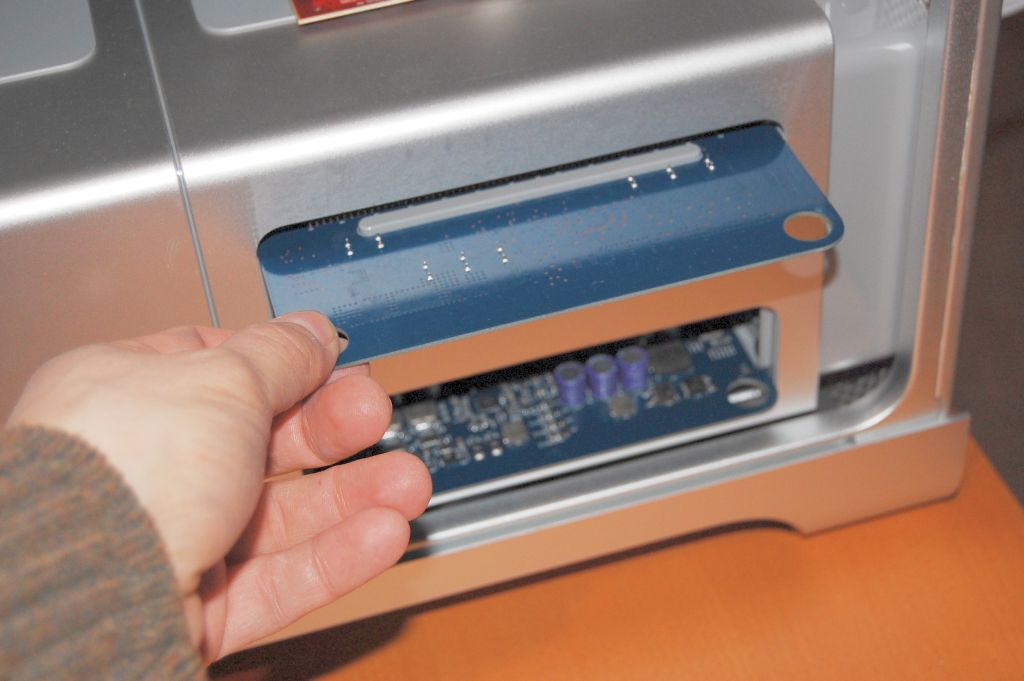
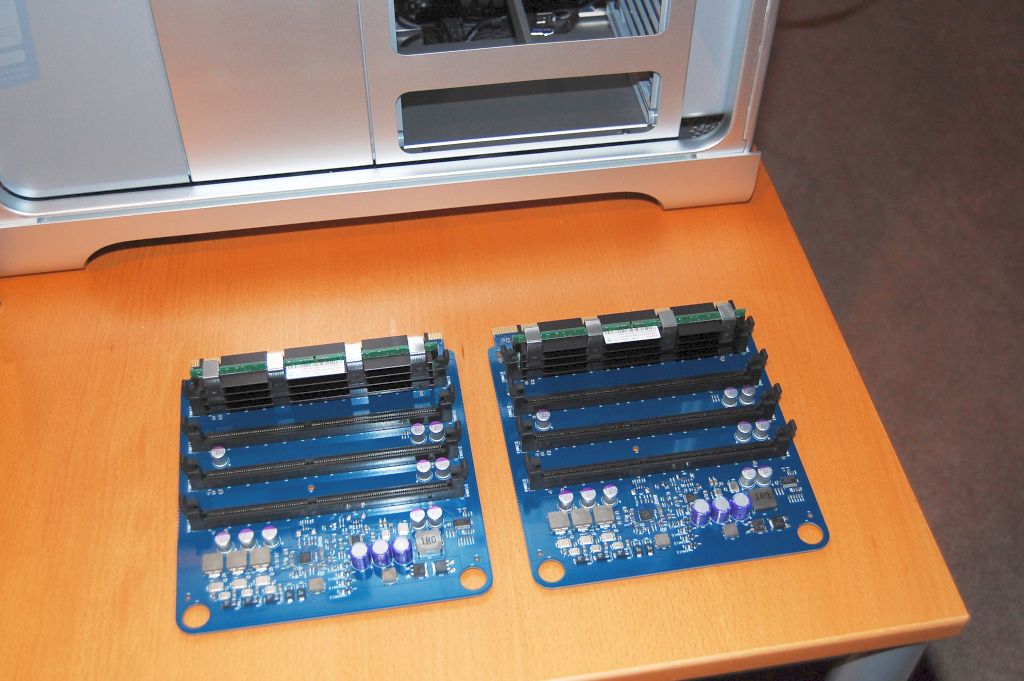
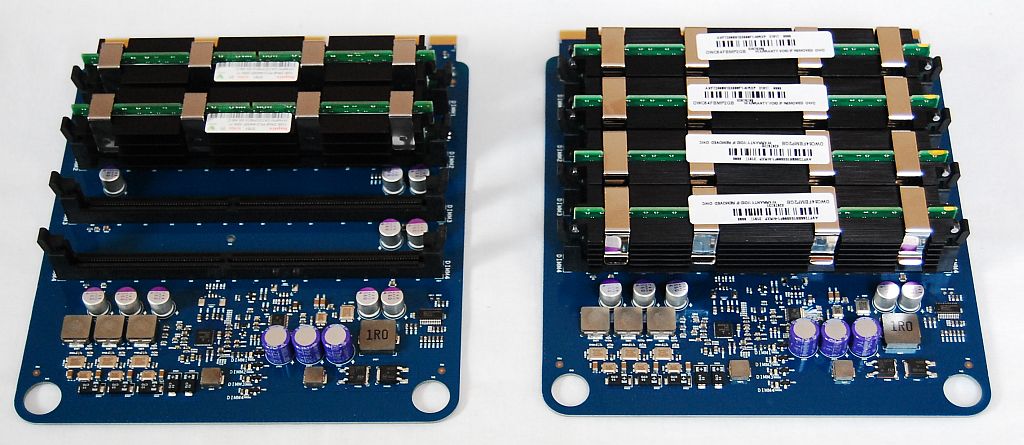
For the memory, Apple wants you to install the memory modules in pairs. I had two 1gb modules from Apple. In this bare configuration, one module is installed in the upper memory board, the other module in the lower board. Now that I have four more modules to install, I have to shuffle a few things around a bit. I put 4 – 2gb modules in the upper board, and put the two 1gb modules in the lower board per Apple’s instructions.
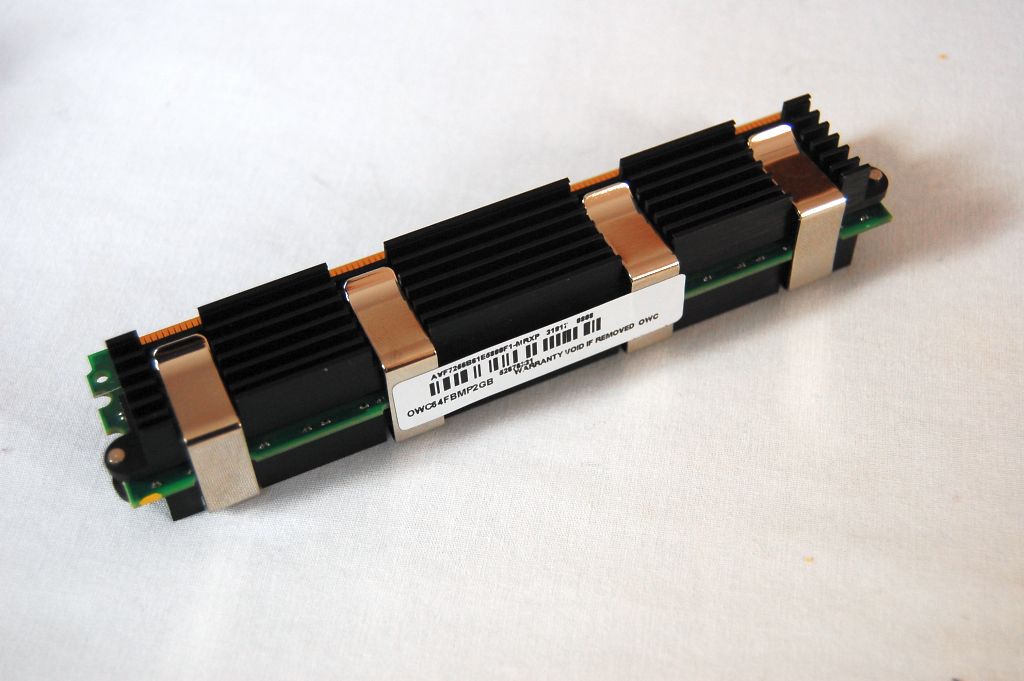
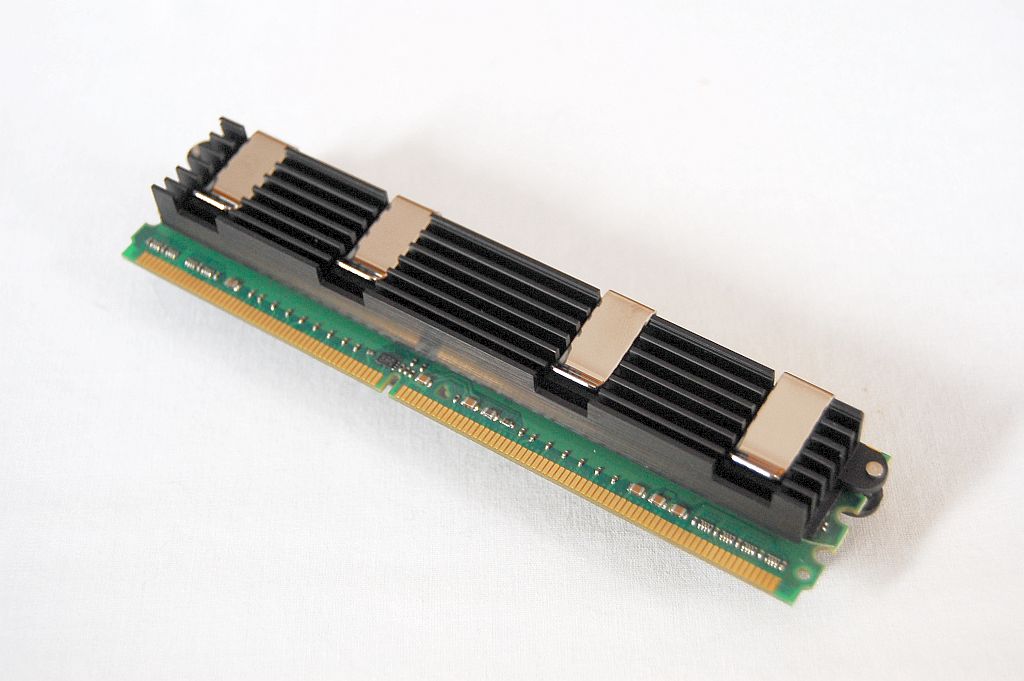
As you can see from the photos, the memory is quite robust. There are heat sinks mounted directly to the chips (should I be scared? I mean, if one of these heat sinks falls off, will the chips burst into flames?). They fit into the memory board in only one direction, so you can’t screw that up. Just don’t force it too hard.
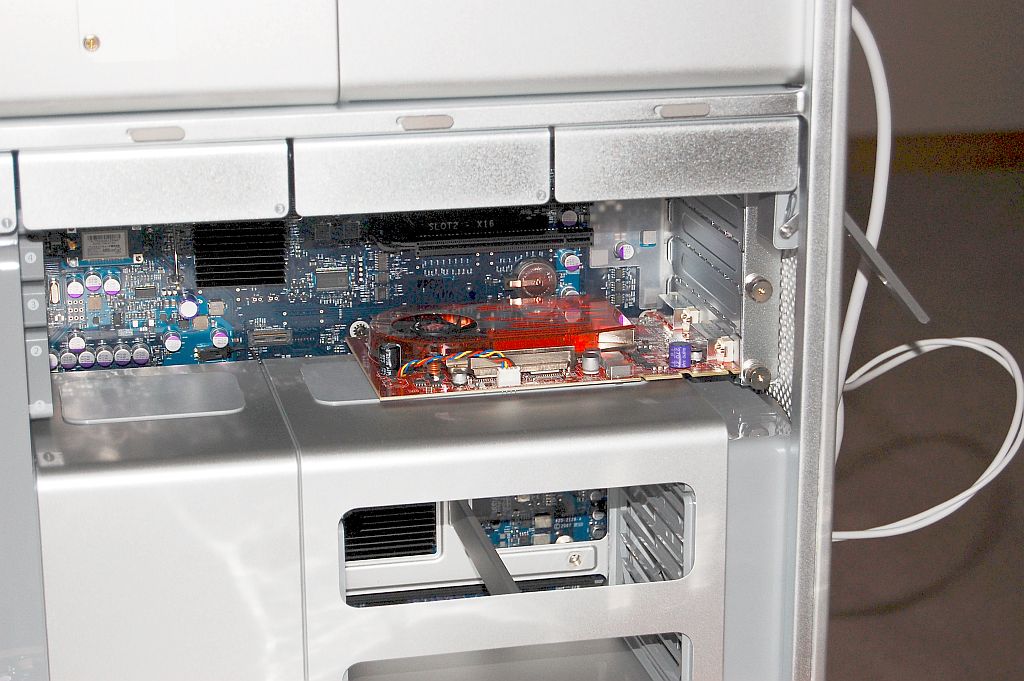
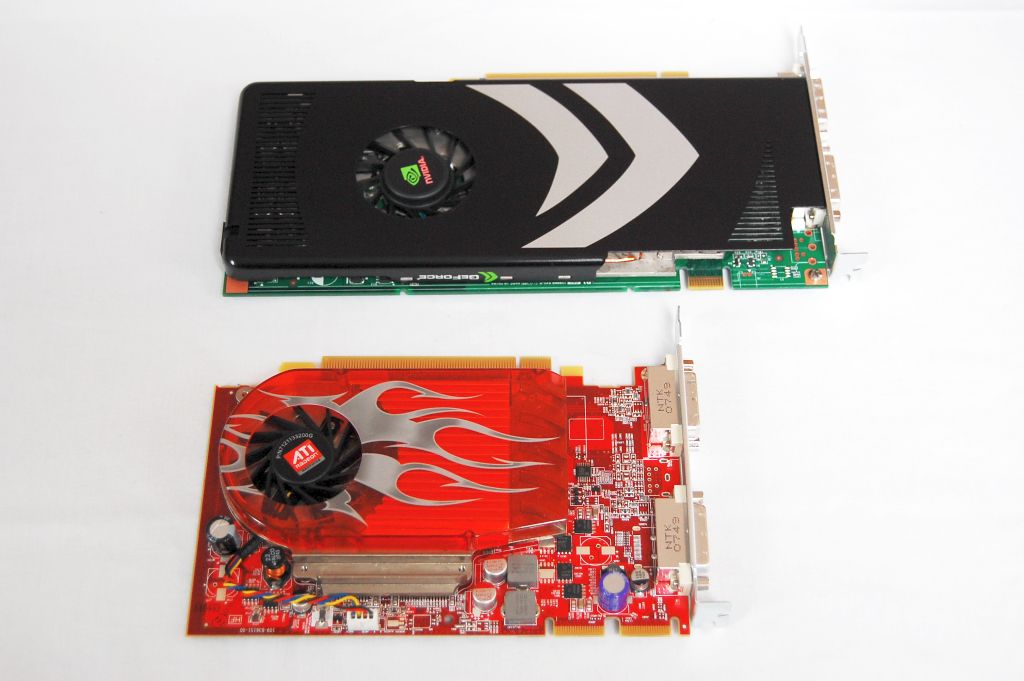
For the video card, remove the retaining clip by unscrewing two screws holding the clip in place. Pop the old card out. As you can see from the photos, the 8800 GT is a bit larger than the 2600 XT.
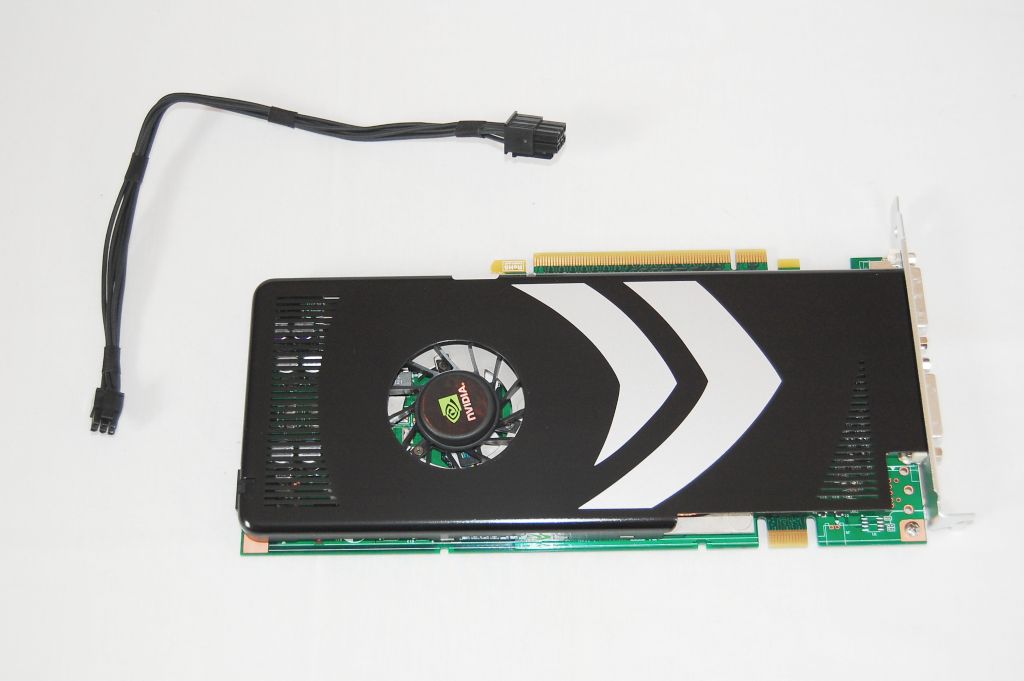
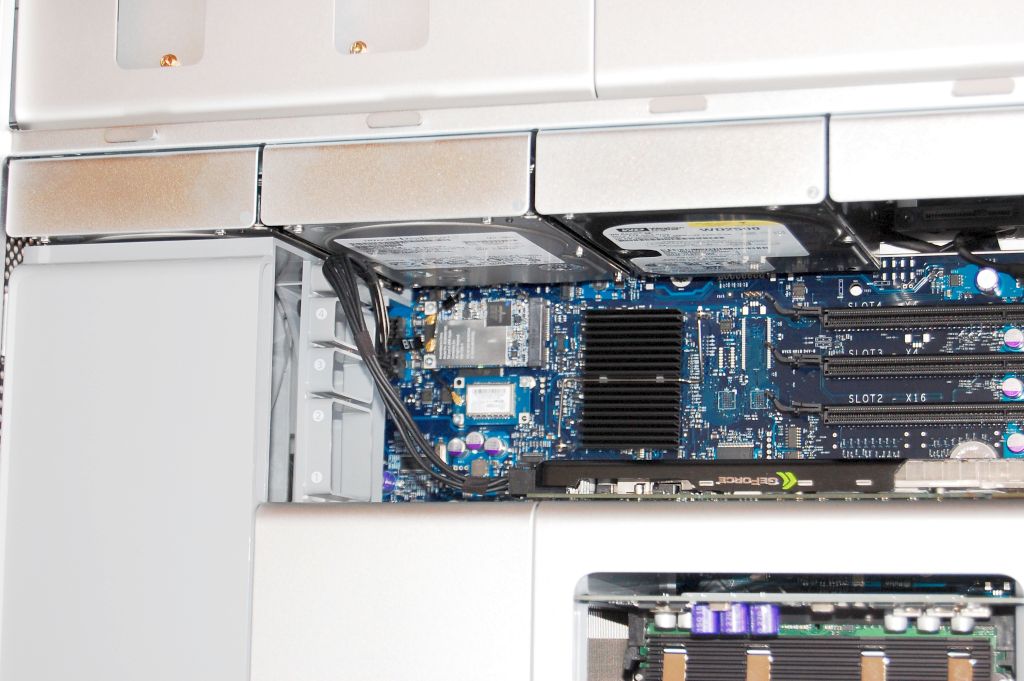
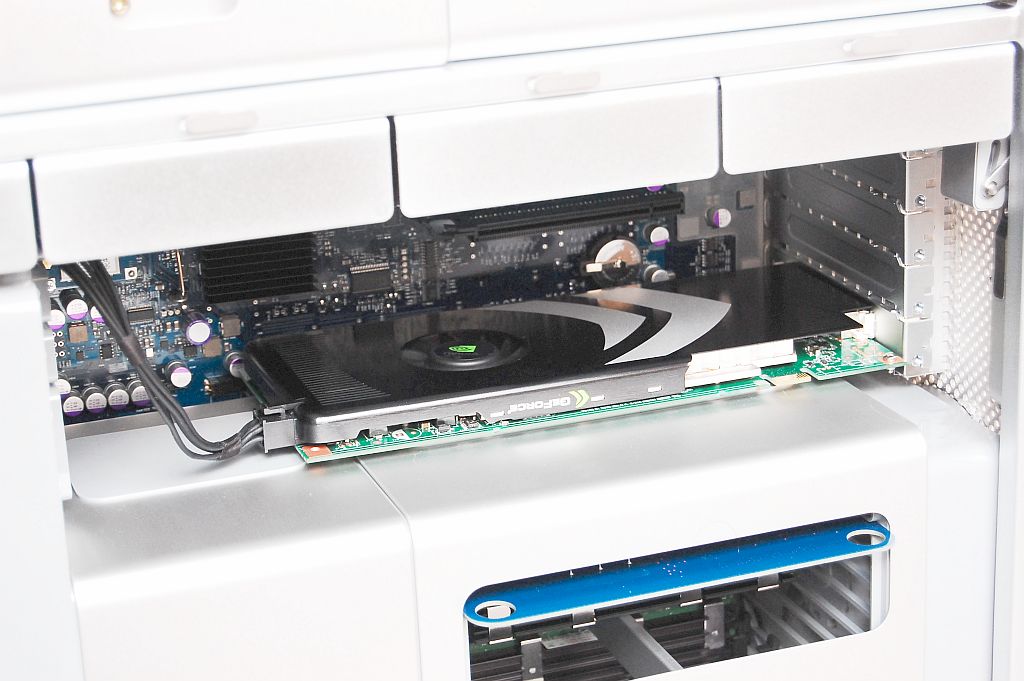
Slide the new card in. The Nvidia 8800 GT has a separate power cable (it comes with the card) that must be plugged into the motherboard.
Now that that’s done, I can sit back and count the $1700 I saved not buying my memory and hard drive from Apple. Hmmm, time for a second 30″ Apple Cinema display (unless OWC makes one for half that price).
Hello, just curious how you would do the following RAM config on your machine. Machine came with 4 x 512MB of RAM mounted 2 per board.
We just bought 2 x 4GB chips.
Your “as per Apple’s instructions” imply that you might put the 2 x 4GB chips in the top slot and the 4 x 512MB in the bottom slot.
Would be curious to know your thoughts.
That would be correct. I have 2 – 1gb dimms in the lower board and 4 – 2gb in the top board.