

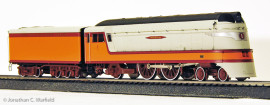
 I’m also a big fan of the streamlined steamers from back in the golden age of railroading. Fox Valley Models introduces the Milwaukee Road Hiawatha streamliner in both HO and N scales in honor of the Hiawatha’s 75th anniversary.
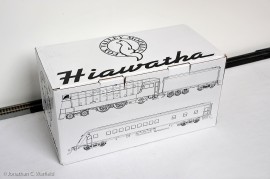
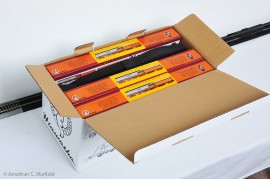 FVM offers the Hiawatha loco with a six-car passenger set. Two additional coaches are also offered to make an eight-car consist.
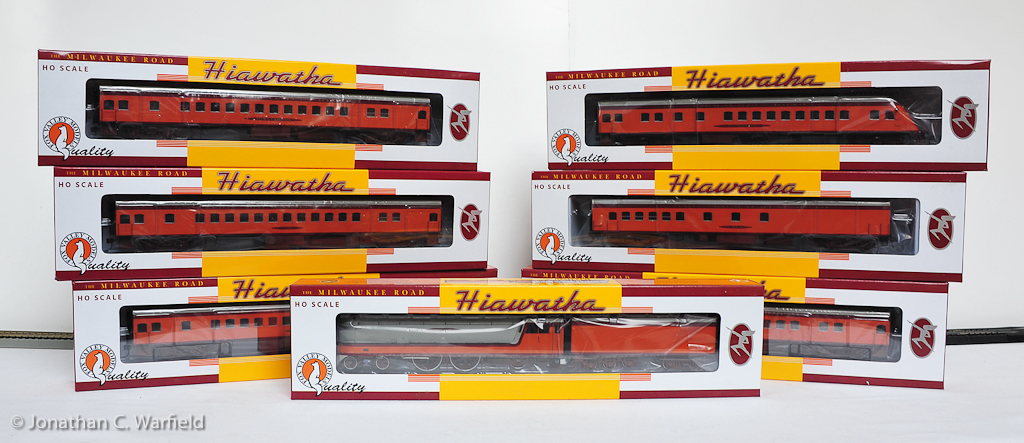 Here’s the full cast of characters in this trip back to yesteryear.
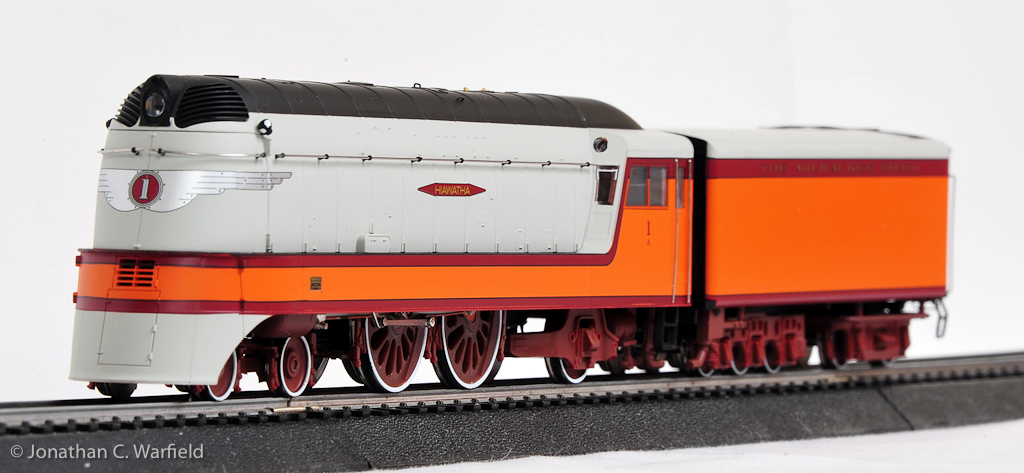
 Looking pretty sleek! This particular model represents the 1935 Milwaukee Road Hiawatha that ran between Chicago and the Twin Cities. The streamlined bodywork, designed by industrial designer, Otto Kuhler, covered a Class A 4-4-2 Atlantic steam locomotive. Following the inauguration of the Hiawatha in 1935, the train became very popular with travelers. The cars pulled by the locomotive included the first Tap-Cafe car, coaches, Parlor and the iconic “Beaver Tail” Observation car bringing up the rear. This was a fast steamer! It was oil fired to reduce service times, and could pull its consist in speeds in excess of 100mph.
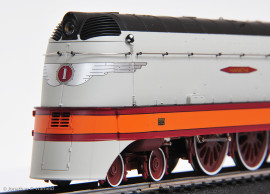
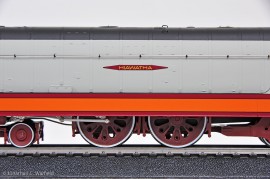 Graphics and paint are clean and sharp. The locomotive is fairly heavy, but the tender is pretty light, as are the passenger cars. The locomotive is equipped with traction tires, so it should have no problem pulling the 6-8 available passenger cars.
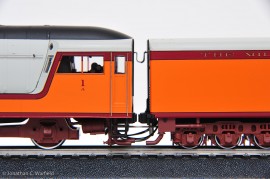
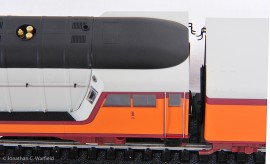
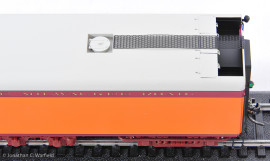
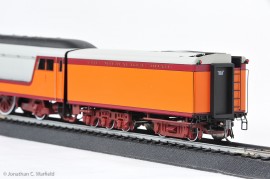 These photos are providing close-ups of some of the detail.
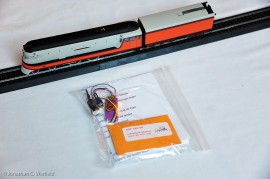 Shortly after the release of the Hiawatha, retailer Litchfield Station as released a SoundTraxx DCC sound decoder specifically programmed for the Hiawatha. Included in the programming is the prototypical air horn, instead of the more common steam whistle. Although the Hiawatha was in fact a steam loco, it used an air horn.

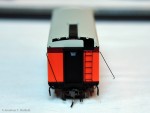
 The first step in installing the decoder is removing the tender shell. This is where the decoder and speaker will reside. To remove the tender, flip the loco over and unplug the wiring harness connector at the front of the tender. Then, detach the bottom of the handrails on the rear of the tender by gently pulling them out of the bottom mounting holes. Lastly, pop off the filler cover on the top and remove the screw. Once these steps are done, gently work the top of the shell off of the chassis.
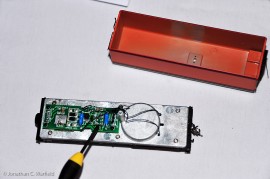
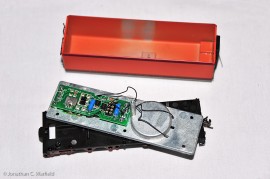 Once the shell is removed, the circuit board will be exposed. Remove the 8 pin plug from the circuit board. The decoder will be plugged in here. Remove the circuit board screws as well as the weighted speaker housing screws.
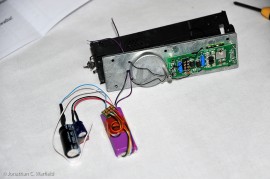
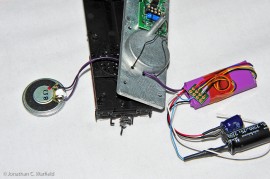 Next, thread the purple speaker wires through the speaker housing slot and solder the wires to the speaker pads.
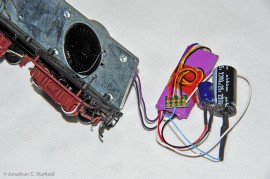
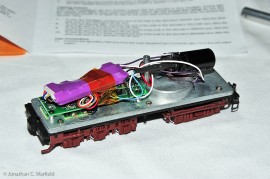 Place the speaker inside the speaker housing and remount the housing. Plug in the 8-pin connector into the circuit board and mount the decoder to the circuit board with the tape provided.
Now is the time to give your loco a test run. If everything checks out, remount the tender shell and enjoy!
Here is a video of my Hiawatha at the club layout:
This is an older test run of the Hiawatha that I had done after I installed the decoder:
[wordbay]fox valley models hiawatha[/wordbay]
Place the speaker inside the speaker housing and remount the housing. Plug in the 8-pin connector into the circuit board and mount the decoder to the circuit board with the tape provided.
Now is the time to give your loco a test run. If everything checks out, remount the tender shell and enjoy!
Here is a video of my Hiawatha at the club layout:
This is an older test run of the Hiawatha that I had done after I installed the decoder:
[wordbay]fox valley models hiawatha[/wordbay]Originally posted 2015-06-11 14:02:37.
If you would like to make a comment, please fill out the form below.
Bad Behavior has blocked 626 access attempts in the last 7 days.
How did you get your hands on this model? Its imposssiblento find anywhere.
I ordered it when it was released.